Now to the finishing the tote...hope some are still with me :)
MATERIALS:
- the assembled tote body (outside)
- the lining you've worked on so far
- fabric for handles
- if you are copying the handles I did you will need 2 contrasting fabrics)
Sew lining sides and form bottom
- Fold lining right sides together.

- Sew together each side.
- Pinch the bottom corners and sew across like you did when assembling the tote body here.


STEP 2:
Cut fabric for handles.
- 2-4x29" pieces of base fabric for handles

- 2-1.5"x29" pieces of accent fabric for handles (in my case the accent fabric was the faux-leather)
STEP 3:
Assemble handles
- Fold the base fabric hot-dog bun style (the long ways)
- Sew down the long-edges creating a long inside-out tube


- Repeat for other handle
- Turn handle tubes so they are right-side out
- Center the accent fabric (again if you are using an accent fabric that will fray you will need to edge finish it before this step) over the base fabric seam and stitch close to edges. Sewing both sides of the accent fabric in the same direction.


- Repeat for other handle.
STEP 4:
Assemble the button closure tab.
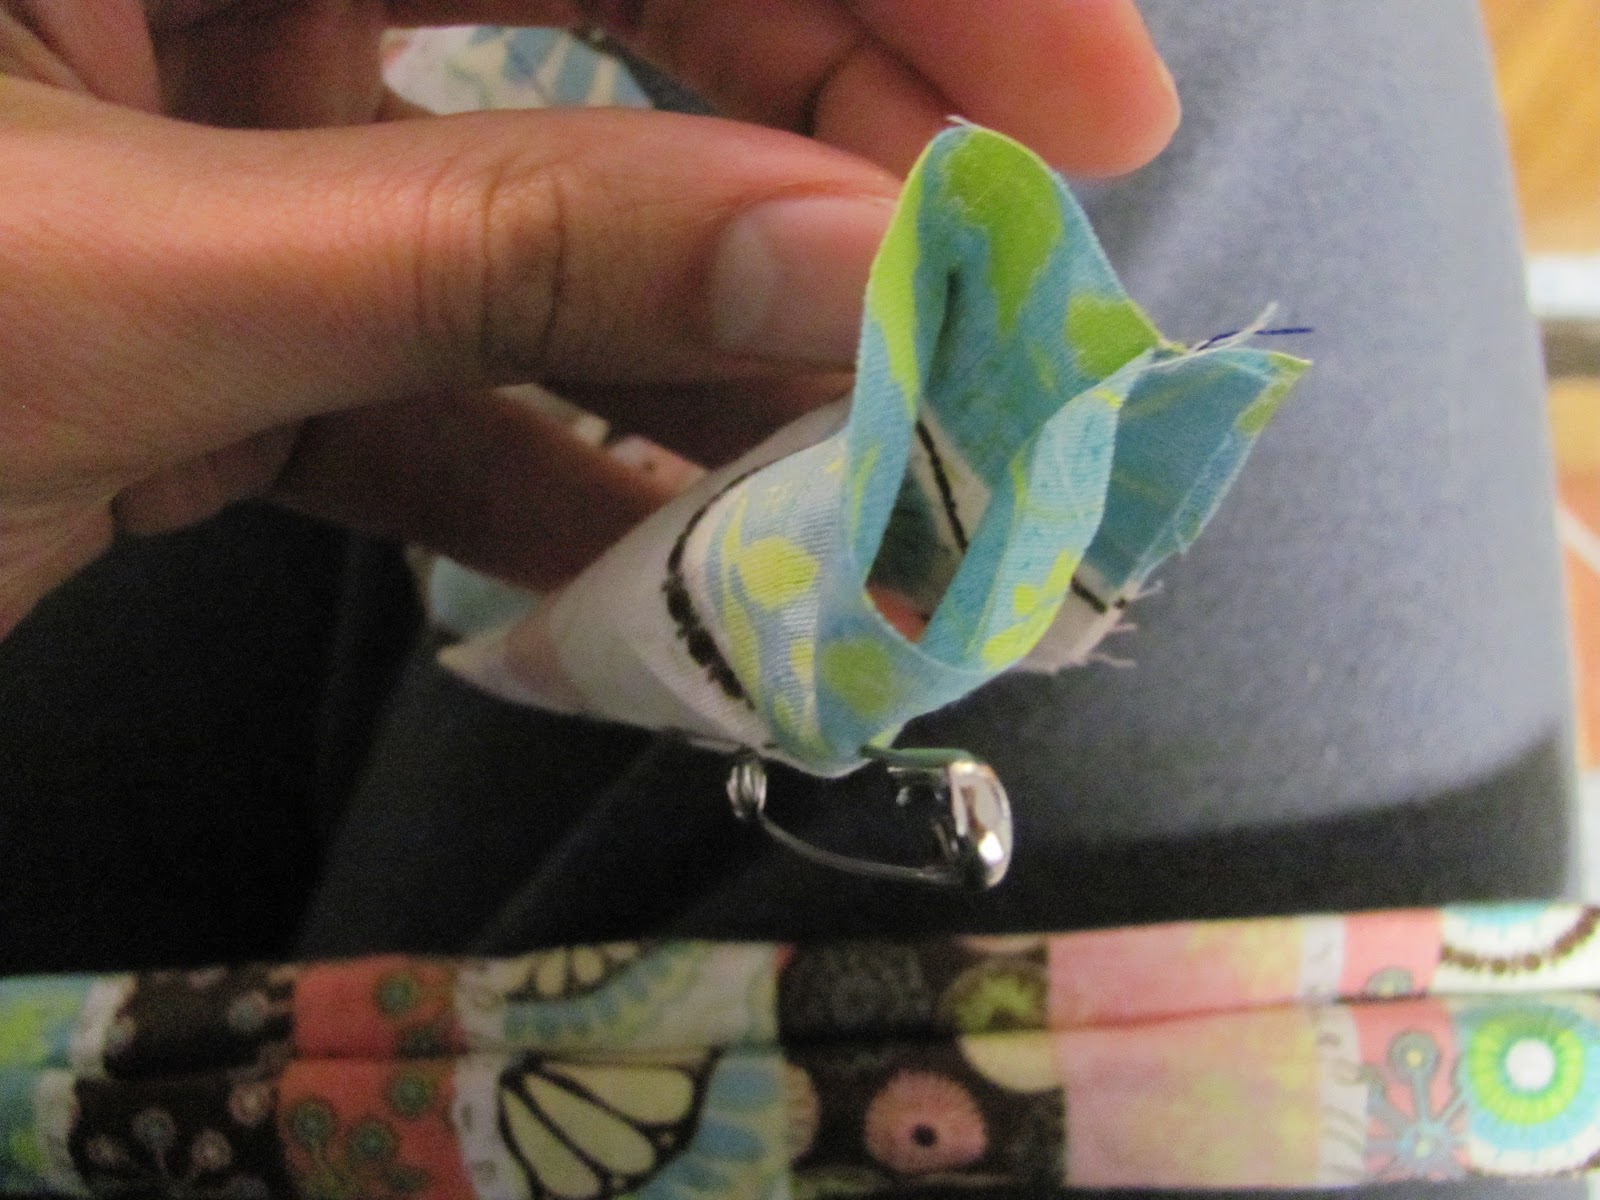
- I used an 8" piece of bias tape that I'd folded in half and sewed shut. You could cut a 2"x9" strip fold it in half length-wise and sew the long ways. Then turn it right side out (like you did with the handles).

- Turn the two ends of the strip so that they match and lie flat. The middle should turn into a point. (see picture...I have no idea how to adequately explain this sorry)

- Sew across the end of the point.


- Measure the length of the button up against the closure loop and sew across at a length that will allow the button to fit between the two strips.

STEP 5:
Assemble bag
- Insert the tote body (right-side out) into the tote lining (right-side in) so that edge seams match up and right-sides are together.
- Match the side seams up and pin.
- Decide how far apart you want the handles and sandwich them right side toward the right side of the bag body (outside of the bag, not the lining) in between the lining and the bag body.
- Do the same on the opposite side of the tote and pin in place as best as you can.
- Also sandwich the button closure between the layers on one side of the tote (the side that you want to be the back)
- Sew about a 1/2" seam around the top of the bag leaving about a 7" gap that you will use to turn the bag right-side out through.


STEP 6:
Edge finish the top
- Turn the bag right-side out through the opening you have left in the top seam.

- Push the lining down inside the bag

- Stitch close to the top of the bag making sure to catch both the lining and the outside when you stitch over the open hole you used for turning it.


STEP 7:
Attach button
- Attach button to front at desired position that will match up with the button closure tab.


You're finished!

Linking up here:
Wow Me Wednesday

No comments:
Post a Comment
Thanks for the lovely comment! It makes my day! It also means I'll stop by your blog, subscribe to it, and most importantly, reply to the comment you've left!